
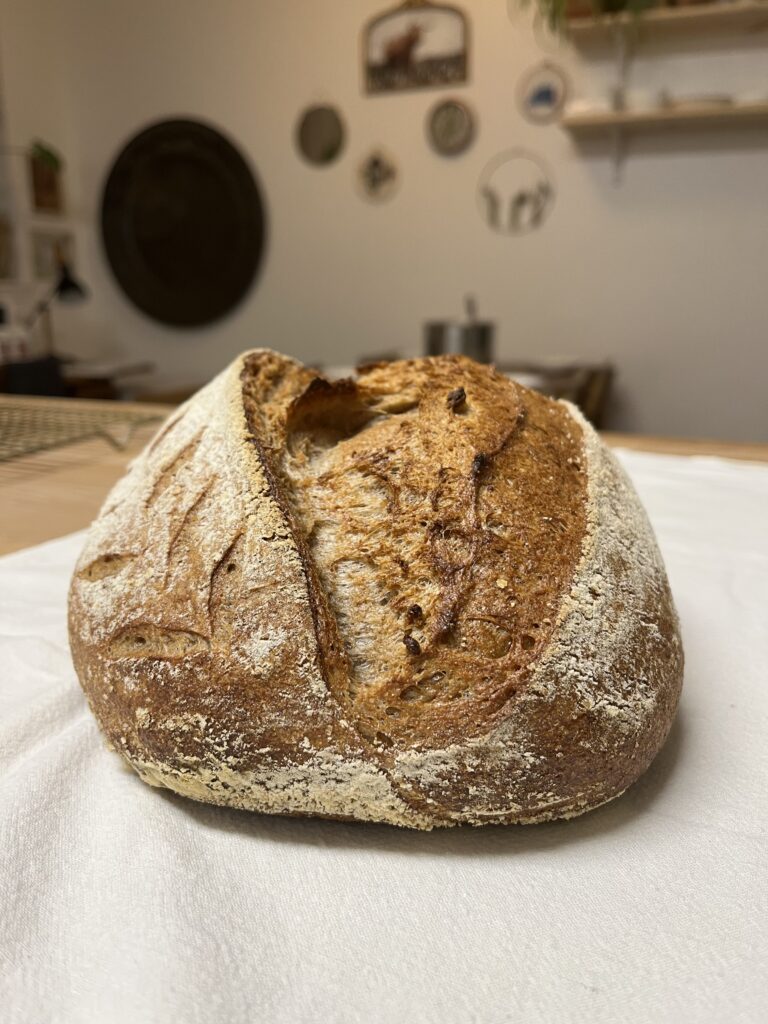
Freshly ground whole wheat sourdough is absolutely the most nutritious bread you could possibly eat. No need to fear carbs when they come in this kind of a delicious, nutritious package!
THE NIGHT BEFORE:
Feed your starter with equal parts water and rye flour. You need at least 100 grams total, but it’s okay to make more! Any amount of starter will work, it will just affect how much time it takes to double. The more starter you use, the quicker it will go. Reusing a basically empty jar with just a little starter residue works!
THE NEXT MORNING:
In a large bowl, weigh out 800 grams of water (using a container with 800 milliliters will get you close!), 20 grams of salt and 100 grams of starter. Using a danish whisk, mix well.
In a separate bowl, measure out 1,000 grams of whole wheat berries. Any variety will do, but make sure that at least 70% is a hard variety. Add to wheat grinder, and grind directly into the water mixture.
Using the danish whisk, mix it all up until there is no dry flour left. It will be very craggy at this point and does not need to look well mixed.
STRETCH AND FOLDS:
Over the course of the next two hours, every 30 minutes, perform a stretch and fold or coil fold. (Whole grain does better with a coil fold.) Having very wet hands will keep the dough from sticking to you! Cover between each session.
BULK FERMENT:
Let rest, covered, for the next few hours. You will know it’s ready when it is no longer sticky to touch with dry fingers. You should be able to dump it onto a table and have the bowl come out clean (aside from slops up near the top from when you were mixing.) WHOLE WHEAT FERMENTS QUICKLY. DON’T LEAVE IT UNATTENDED FOR TOO LONG, ESPECIALLY IN THE SUMMER MONTHS! Three to four hours may be all that you need.
SHAPE AND PROOF:
Prepare your bannetons with flour. Freshly ground flour is great here, because it’s releasing a bit of moisture and will stick to the sides well. If you are using a brand new banneton, you need to spend extra time “seasoning” it with flour. Here’s a video showing how.
Once first seasoning is finished, “line it” thoroughly with flour, making sure you get the top well, too.
Once the dough is dumped out onto the table, divide into two equal parts and separate. Using a bench scraper, rotate and scoot to build tension on the top and create a taut surface. Here’s a video showing what I mean. Shape the other loaf and let rest for 10 minutes. (Cover with a wet towel to keep from drying out.) Using the Caddy clasp method, do your final shaping. Set dough down into a big enough bowl for the bread to have room in, full of rice flour, ensuring that top and sides are well covered. Set into prepared bannetons.
At this point, you can put it in the fridge to bake the next day, or even later in the day. Just be sure to pull it out at least 3 hours before you’ll want to eat it. You will still end up with something delicious even if you wait a few days to bake it—it just probably won’t have a very open crumb.
If you want to bake it now, cover with a baking mat or parchment paper, and set a dry towel on top. Let it set for about an hour, or until it has visibly grown and is jiggly. It will not “double” (or hold up well if it does!).
BAKE!
If your house is not too hot, preheat oven to 450 and place your Dutch oven inside and let warm up for an hour.
If that feels too long to have the oven on, on top of the baking, about 20-30 minutes before the dough is ready to bake, preheat oven to 500 degrees with Dutch oven inside. Once it comes to temp, set a time for 10 minutes to continue warming up the pan.
Once oven and Dutch oven are ready, turn the heat down to 450. Score the bread (search “sourdough score designs” on Pinterest for inspiration!) and place in Dutch oven. Bake covered for 35 minutes.
Remove lid from Dutch oven, turn the heat down to 425, and finish baking for 10 more minutes.
Remove and let stand at least 30 minutes (better if you can wait an hour!) before cutting into it.
NOTES:
If you have made a few loaves, and are struggling—feeling like it’s a sloppy, goopy mess, try lowering the hydration level. Go down to 700 grams and see if it’s any easier to work with. The high hydration makes for a more light and airy loaf, but less hydration might help you gain the confidence you need with giving you a successful loaf, even if it doesn’t have the big, airy crumb!
For best results with scoring, forty five minutes to an hour before you want to bake it, put it in the freezer. You can do whatever fancy details you want to do, and it will hold up just fine!
Here is how to feed and care for your starter.
Here are the tools that I use in my kitchen.
Here are my whole wheat English muffins—great for when you want to bake but the kitchen is hot!